The "plexiglass" on an old watch is acrylic, and it is the original crystal on the overwhelming majority of watches built before the 1970s. It scratches easily. That is also the reason collectors are glad to have it: a mineral or sapphire crystal has to be replaced once it is marked, whereas a scratched acrylic can simply be polished, and a cracked or yellowed one can be changed at home without a professional watchmaker's kit. Here is what the job actually takes.
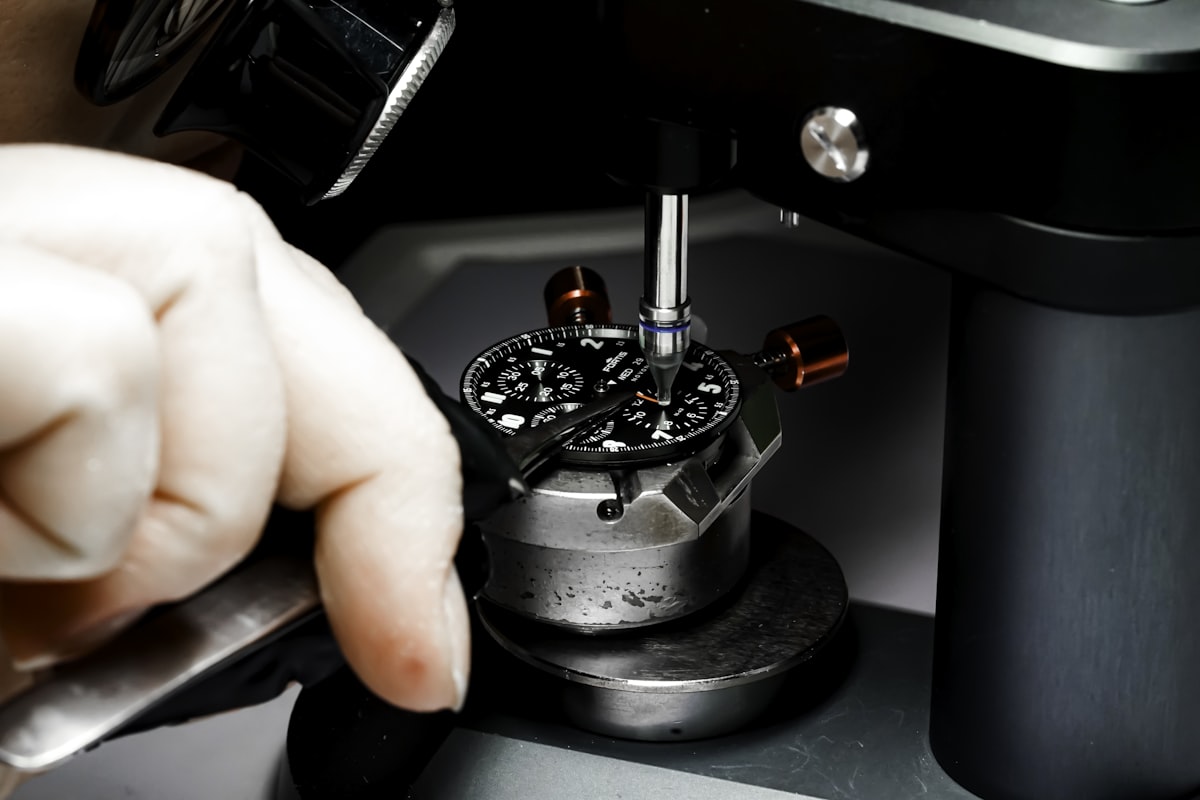
Measure the bezel seat properly
The figure you need is not the diameter of the watch. It is the internal diameter of the seat the crystal drops into, taken with a digital calliper, or a vernier if that is what you have. Measure it at two or three different points around the opening: on old cases, decades of wear leave the seat not quite perfectly round.
Note the thickness of the original crystal as well, if it has survived. Vintage acrylics are usually domed, with a step cut into the edge, and that profile changes from model to model.
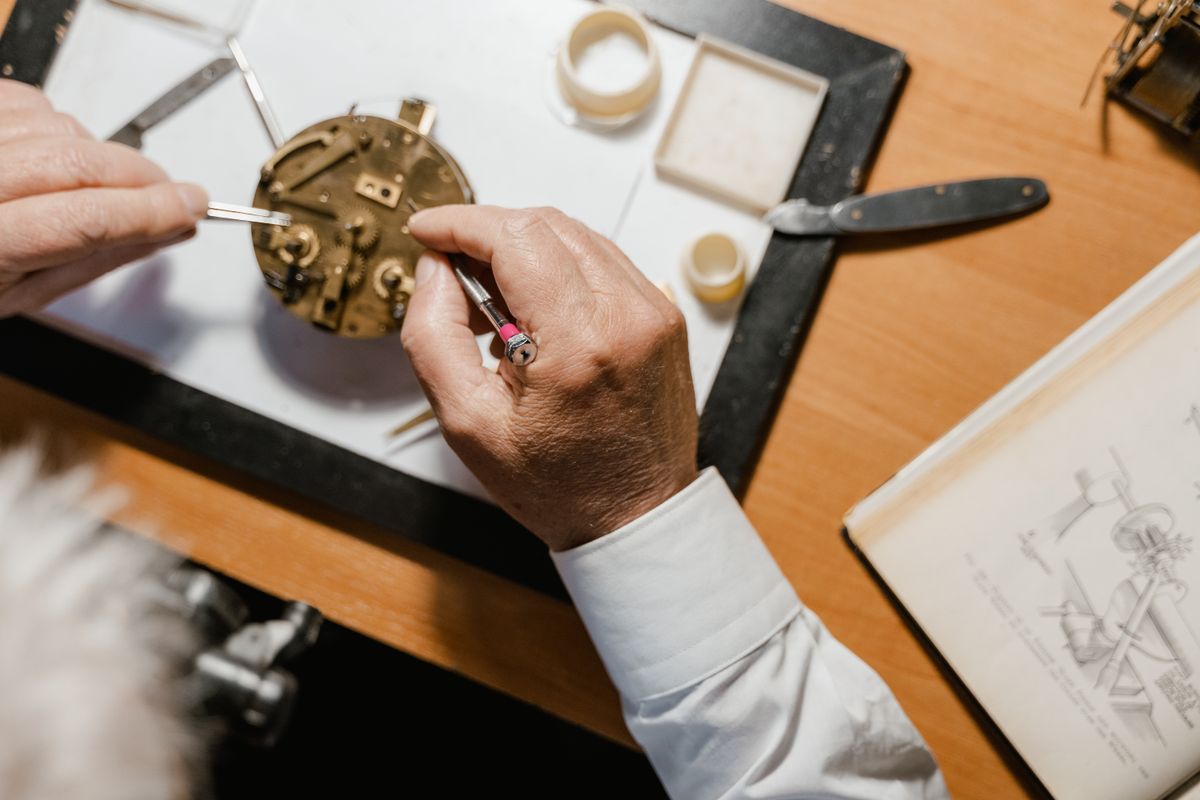
Always measure the internal diameter of the bezel seat, never the outside diameter of the case.
Choosing the right crystal
With a firm measurement in hand you have two routes. Either a generic acrylic in that diameter and profile — there are suppliers who specialise in acrylic crystals for vintage watches and sell them by size — or, if your model is well enough known, a crystal made for that reference, which gets the original profile and thickness right for you.
- A crystal a shade too large can be persuaded in with warmth and pressure. One that is too small never will be.
- Check whether your model carried a Cyclops magnifier over the date. If it did, you need the specific crystal with the lens moulded into it, not a flat generic.
Getting the old crystal out
Open the case and take the movement out first — never work on the crystal with the movement still inside. With the case empty, push the old acrylic out from the inside, with your fingers or a blunt plastic tool, pressing from the centre and working it towards one side.
If it is stuck fast, or the watch has not been opened in years, a few drops of warm water around the edge and a few minutes' wait will soften old adhesive and packed dirt without harming the case.
Fitting the new crystal
- Clean the bezel seat out properly: dirt, old adhesive, dust, all of it.
- Sit the new crystal centred over the opening, right way up if it is domed or carries a lens.
- Press it down with even pressure from your fingers, or use a crystal press with the die that matches the diameter, which seats it perfectly flat and leaves no tension in it.
- Run your eye round the rim. The crystal should sit at the same height the whole way round, with nothing standing proud.
Careful
Uneven pressure — a thumb bearing down on one spot, for instance — will crack a new acrylic before you have finished seating it. A crystal press spreads the load evenly and takes the problem away.
What if it is only scratched, not broken?
An original acrylic that is structurally sound but hazed with fine scratches does not need replacing. Polish it instead, with a compound made for acrylic — there are products sold for exactly this job — on a soft cloth, worked in small circles until the surface marks have gone.
Worth knowing
For collector value, the original crystal with a mark or two on it usually beats a fresh replacement — unless it is cracked, badly yellowed, or has lost enough material that polishing will not bring it back.