Of everything a collector takes on at home, lifting the hands off a vintage watch is the job that makes people sweat — and fairly so. The dial sits a couple of millimetres from the tool, and one slip marks it for good. The reassuring part: with the right tool and no hurry, it is well within reach.
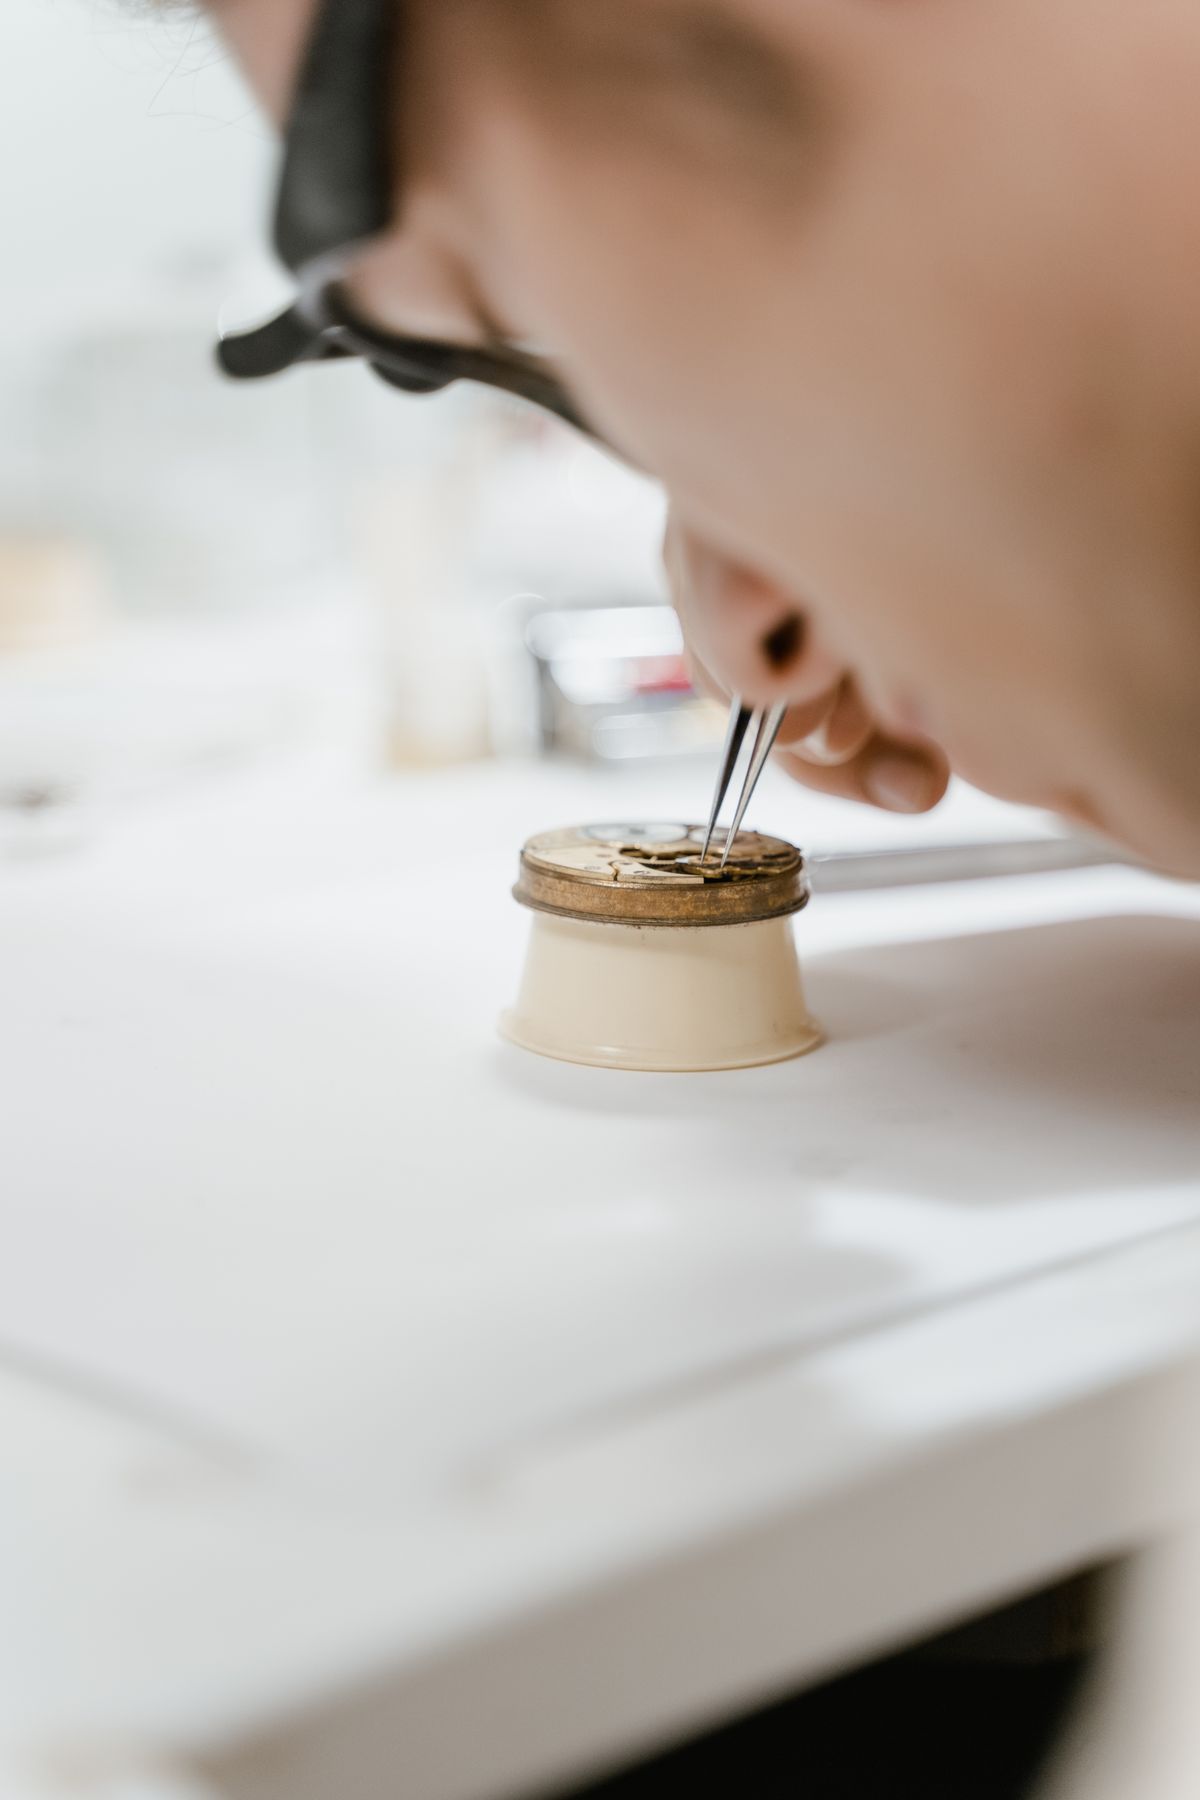
Protect the dial before anything touches it
Before a tool goes anywhere near the hands, lay a dial protector over the dial — the disc or sleeve that covers everything except the centre, where the hands are fitted. If you have not got one, a thin piece of card with a hole cut to size does the same job.
Careful
Working unprotected, "carefully, freehand", is how most dials pick up their first scratch. A protector is not optional. It is what separates a safe job from an accident you could have avoided.
Lifting the hands off
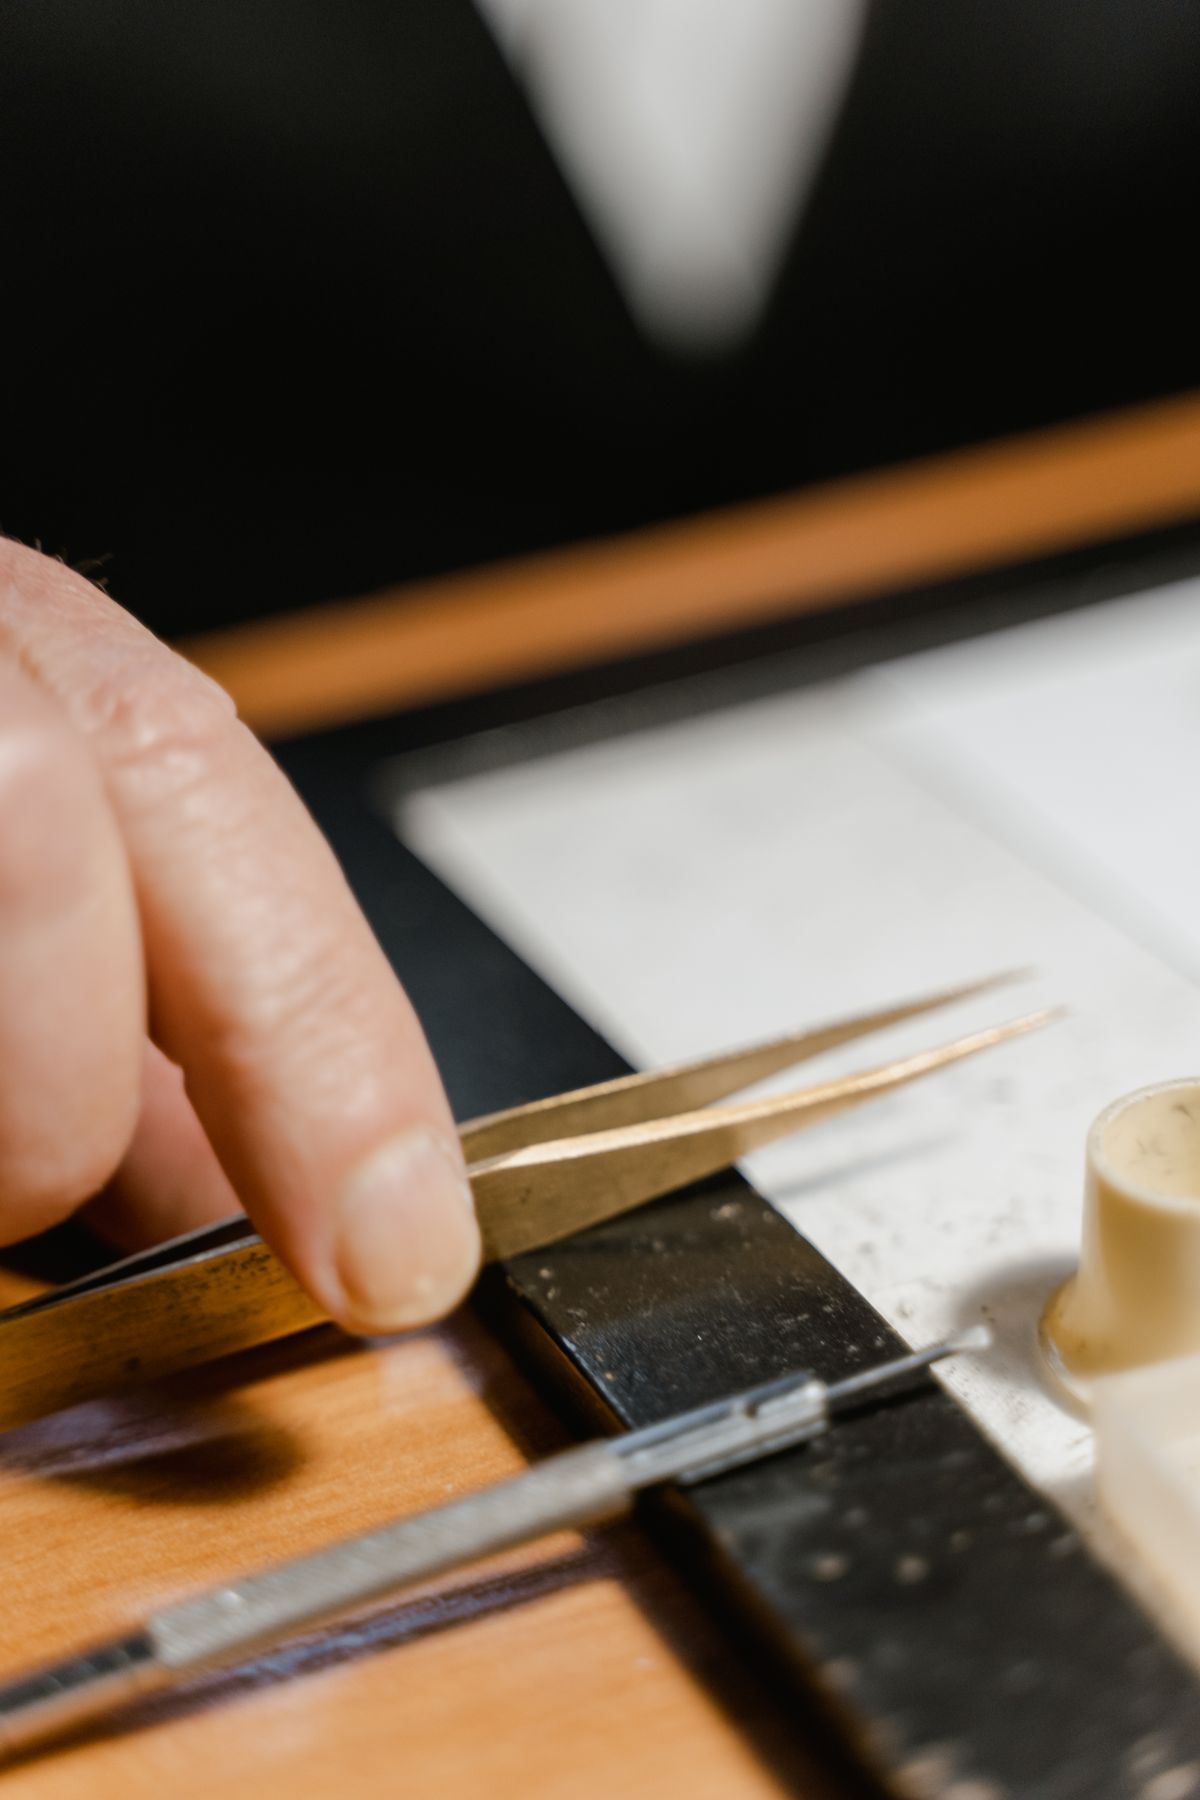
The right tool is a pair of hand-lifting levers — sold as a presto tool or hand puller: two fine arms that slide under the hand on either side of the centre post and lift it straight up, evenly.
- Slide the arms under the topmost hand — the centre seconds hand if the watch has one, otherwise the minute hand — as close to the centre as they will go, without touching the dial.
- Load the tool evenly and lift straight up — never at an angle, never off to one side.
- Work down through the stack in that order: centre seconds first if fitted, then the minute hand, then the hour hand. It is the exact reverse of refitting, and it has to be: the hour hand sits on the cannon pinion with the others stacked above it, so the minute hand will not come off while the seconds hand is still on the post.
Worth knowing
If a hand will not shift, do not pull harder. Put the smallest drop of penetrating oil at its base, give it a few minutes, then go back to the levers.
Photograph the position before you go further
Before the last hand comes off, take a photograph straight down onto the watch showing the time it was reading. That picture is your exact record of where the hour hand sat in relation to the minute hand when the time comes to put them back. Get that relationship slightly wrong and the watch tells the wrong time even though every hand is physically well fitted.
Fitting the new hands
They go back in the reverse order: the one nearest the dial first — the hour hand — then the minute hand, and last the seconds hand if there is one. Each hand is pressed onto its own arbor, straight down every time, never at an angle.
- Set the hour hand on its arbor in the right position for the reference time you photographed.
- Press it home with a hand-setting tool — or, very carefully, a hollow tube of the right diameter — bearing exactly on the centre of the arbor, never on the tip of the hand.
- Do the same with the minute hand, checking that both hands turn freely without catching on each other or on the crystal.
- The seconds hand goes on last. It is always the one that needs the least force to seat.
Checking the alignment
With all three hands on, turn the crown gently through a full revolution and check two things: that the minute hand and the hour hand land on the twelve o'clock marker together, exactly, and that no hand touches the crystal, the dial or another hand at any point in the sweep.
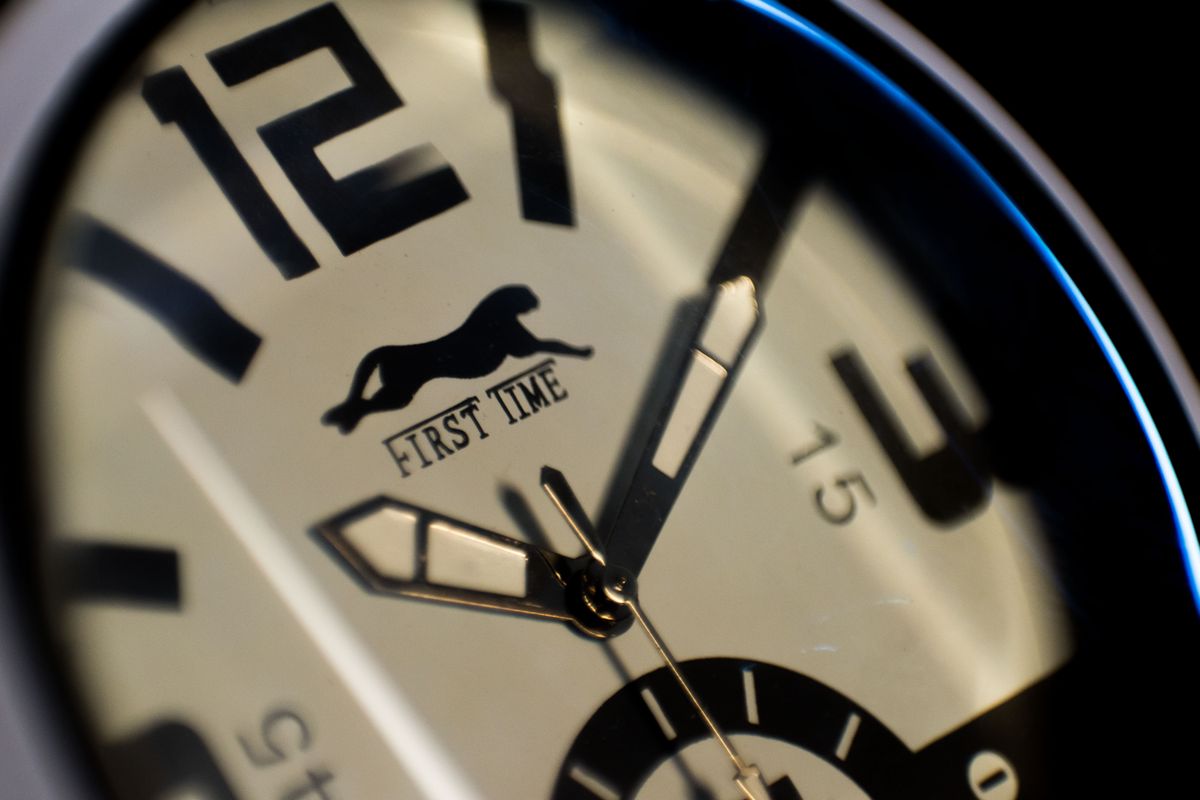
Bring the crown round to twelve and both hands should point dead at the marker — if they do not line up, one of them is not seated properly.